Blog
How to Refinish Wood Furniture?
How to Refinish Wood Furniture?
Refinishing wood furniture is a rewarding DIY project that can breathe new life into old or damaged pieces, restore antique value, or simply match furniture to your current style. This process involves removing the old finish, preparing the surface, applying a new finish, and ensuring proper care and drying. Here is a detailed guide covering the methods, materials, considerations, time, and cost.
Methods for Refinishing Wood Furniture
There are three primary methods to refinish wood furniture:
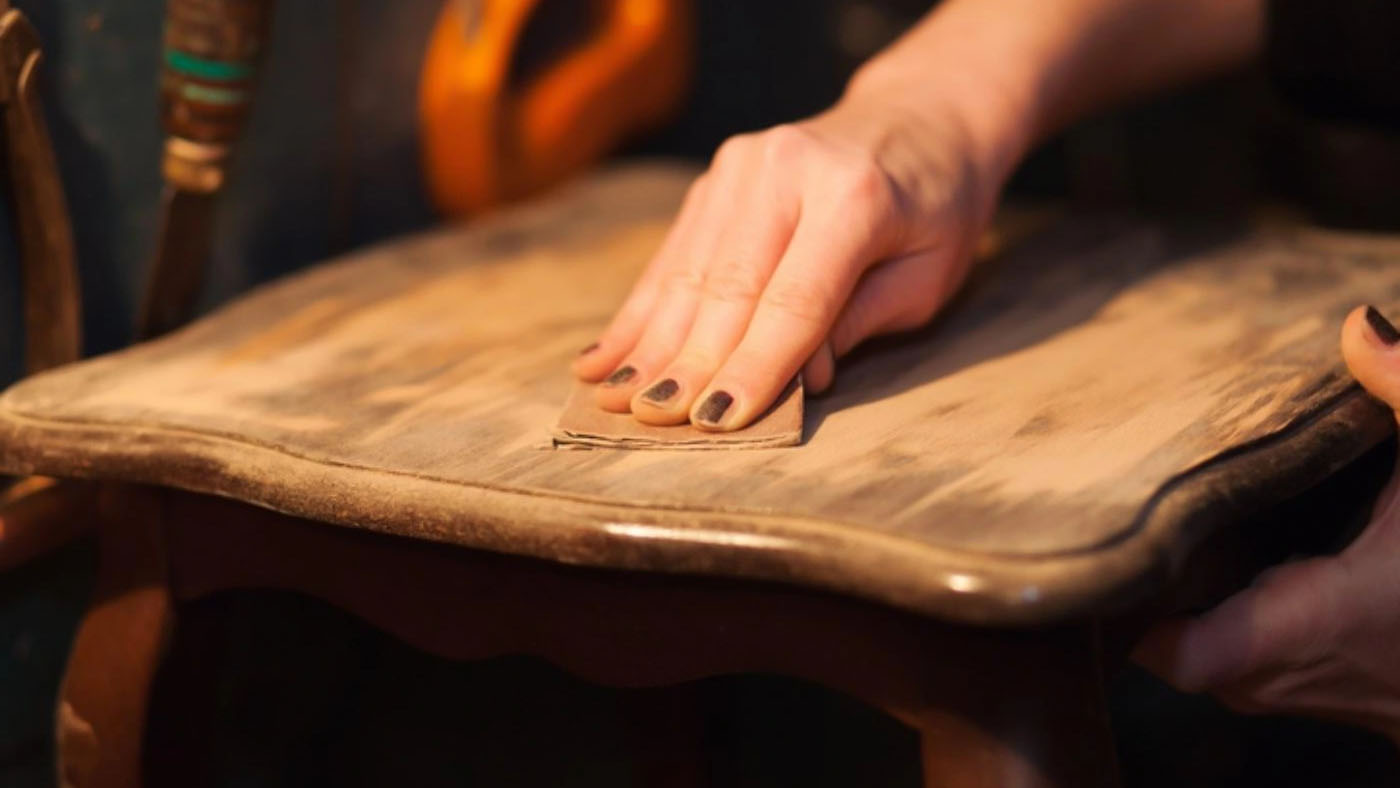
- Stripping and Sanding (Traditional Refinishing)
- Best for: Pieces with damaged finishes, deep scratches, or when changing stain color significantly.
- Steps:
- Remove old finish using a chemical stripper or by sanding.
- Clean the surface to remove all residue.
- Sand thoroughly with progressive grit sandpapers (80 → 120 → 220).
- Stain or paint as desired.
- Apply protective topcoat (polyurethane, lacquer, shellac, or wax).
- Restoration (Refinishing Without Stripping)
- Best for: Furniture with minor wear or when maintaining antique value.
- Steps:
- Clean the piece.
- Lightly sand or use steel wool to smooth imperfections.
- Apply a restoring polish or wipe-on finish to rejuvenate the wood.
- Painting (Transformational Refinishing)
- Best for: Furniture with irreparable veneer, modern updates, or stylistic overhauls.
- Steps:
- Sand or prime the surface.
- Apply paint (latex, chalk, or enamel).
- Add a protective sealer if needed.
Materials and Tools
- Chemical stripper (e.g., Citristrip, Klean-Strip)
- Sandpaper (80, 120, 220 grits)
- Orbital sander (for faster sanding)
- Putty knife (for removing finish)
- Stain or paint
- Brushes, rags, or foam applicators
- Tack cloth or microfiber (for cleaning dust)
- Wood filler (optional, for repairing cracks)
- Topcoats:
- Polyurethane: Durable, good for tabletops
- Shellac: Natural, warm tone
- Lacquer: Fast-drying, glossy
- Wax: Light protection, low-gloss
Matters Needing Attention
- Safety First: Work in a well-ventilated area. Wear gloves, eye protection, and a mask (especially with chemical strippers or sanding dust).
- Test First: Always test strippers and stains on a hidden area to avoid surprises.
- Wood Type: Some woods (like oak) accept stain well; others (like pine or maple) may blotch—use a pre-stain conditioner.
- Stripping Cautions: Don’t rush chemical stripping; allow it to work per the instructions.
- Antique Value: Refinishing antiques can decrease their value. Consult an expert before altering valuable pieces.
- Drying Time: Each layer (stain, paint, topcoat) must dry fully—rushing this can ruin the finish.
Time Involved
- Small Side Table: 1–2 days (including drying time)
- Large Dresser or Dining Table: 3–5 days
- Time Breakdown:
- Stripping: 1–3 hours
- Sanding: 2–6 hours
- Staining/Painting: 1–2 hours (per coat)
- Drying: 6–24 hours per layer, depending on conditions
- Topcoat Application: 1–2 hours + drying time
Estimated Costs
| Item | Estimated Cost (USD) |
|---|---|
| Chemical stripper | $10–$20 |
| Sandpaper pack | $5–$15 |
| Orbital sander (optional) | $30–$80 |
| Stain or paint | $8–$25 |
| Brushes or foam applicators | $5–$10 |
| Topcoat (poly, lacquer) | $10–$20 |
| Tack cloth/microfiber | $3–$8 |
| Total (basic setup) | $50–$100+ |
Tips for Best Results
- Work in a dust-free area to avoid particles settling on the wet finish.
- Use long, even strokes when applying stain or finish.
- Apply thin coats and allow proper drying time.
- Sand lightly between coats of finish with 320-grit sandpaper for a smooth result.
- Maintain the piece with regular cleaning and occasional re-waxing or polish.
Conclusion
Refinishing wood furniture can be an economical and satisfying way to update your home’s aesthetic or preserve heirlooms. With a moderate investment of time and cost, and attention to safety and technique, even beginners can achieve beautiful results. Tailor the method to your furniture’s condition and your desired finish to make the most of the process.